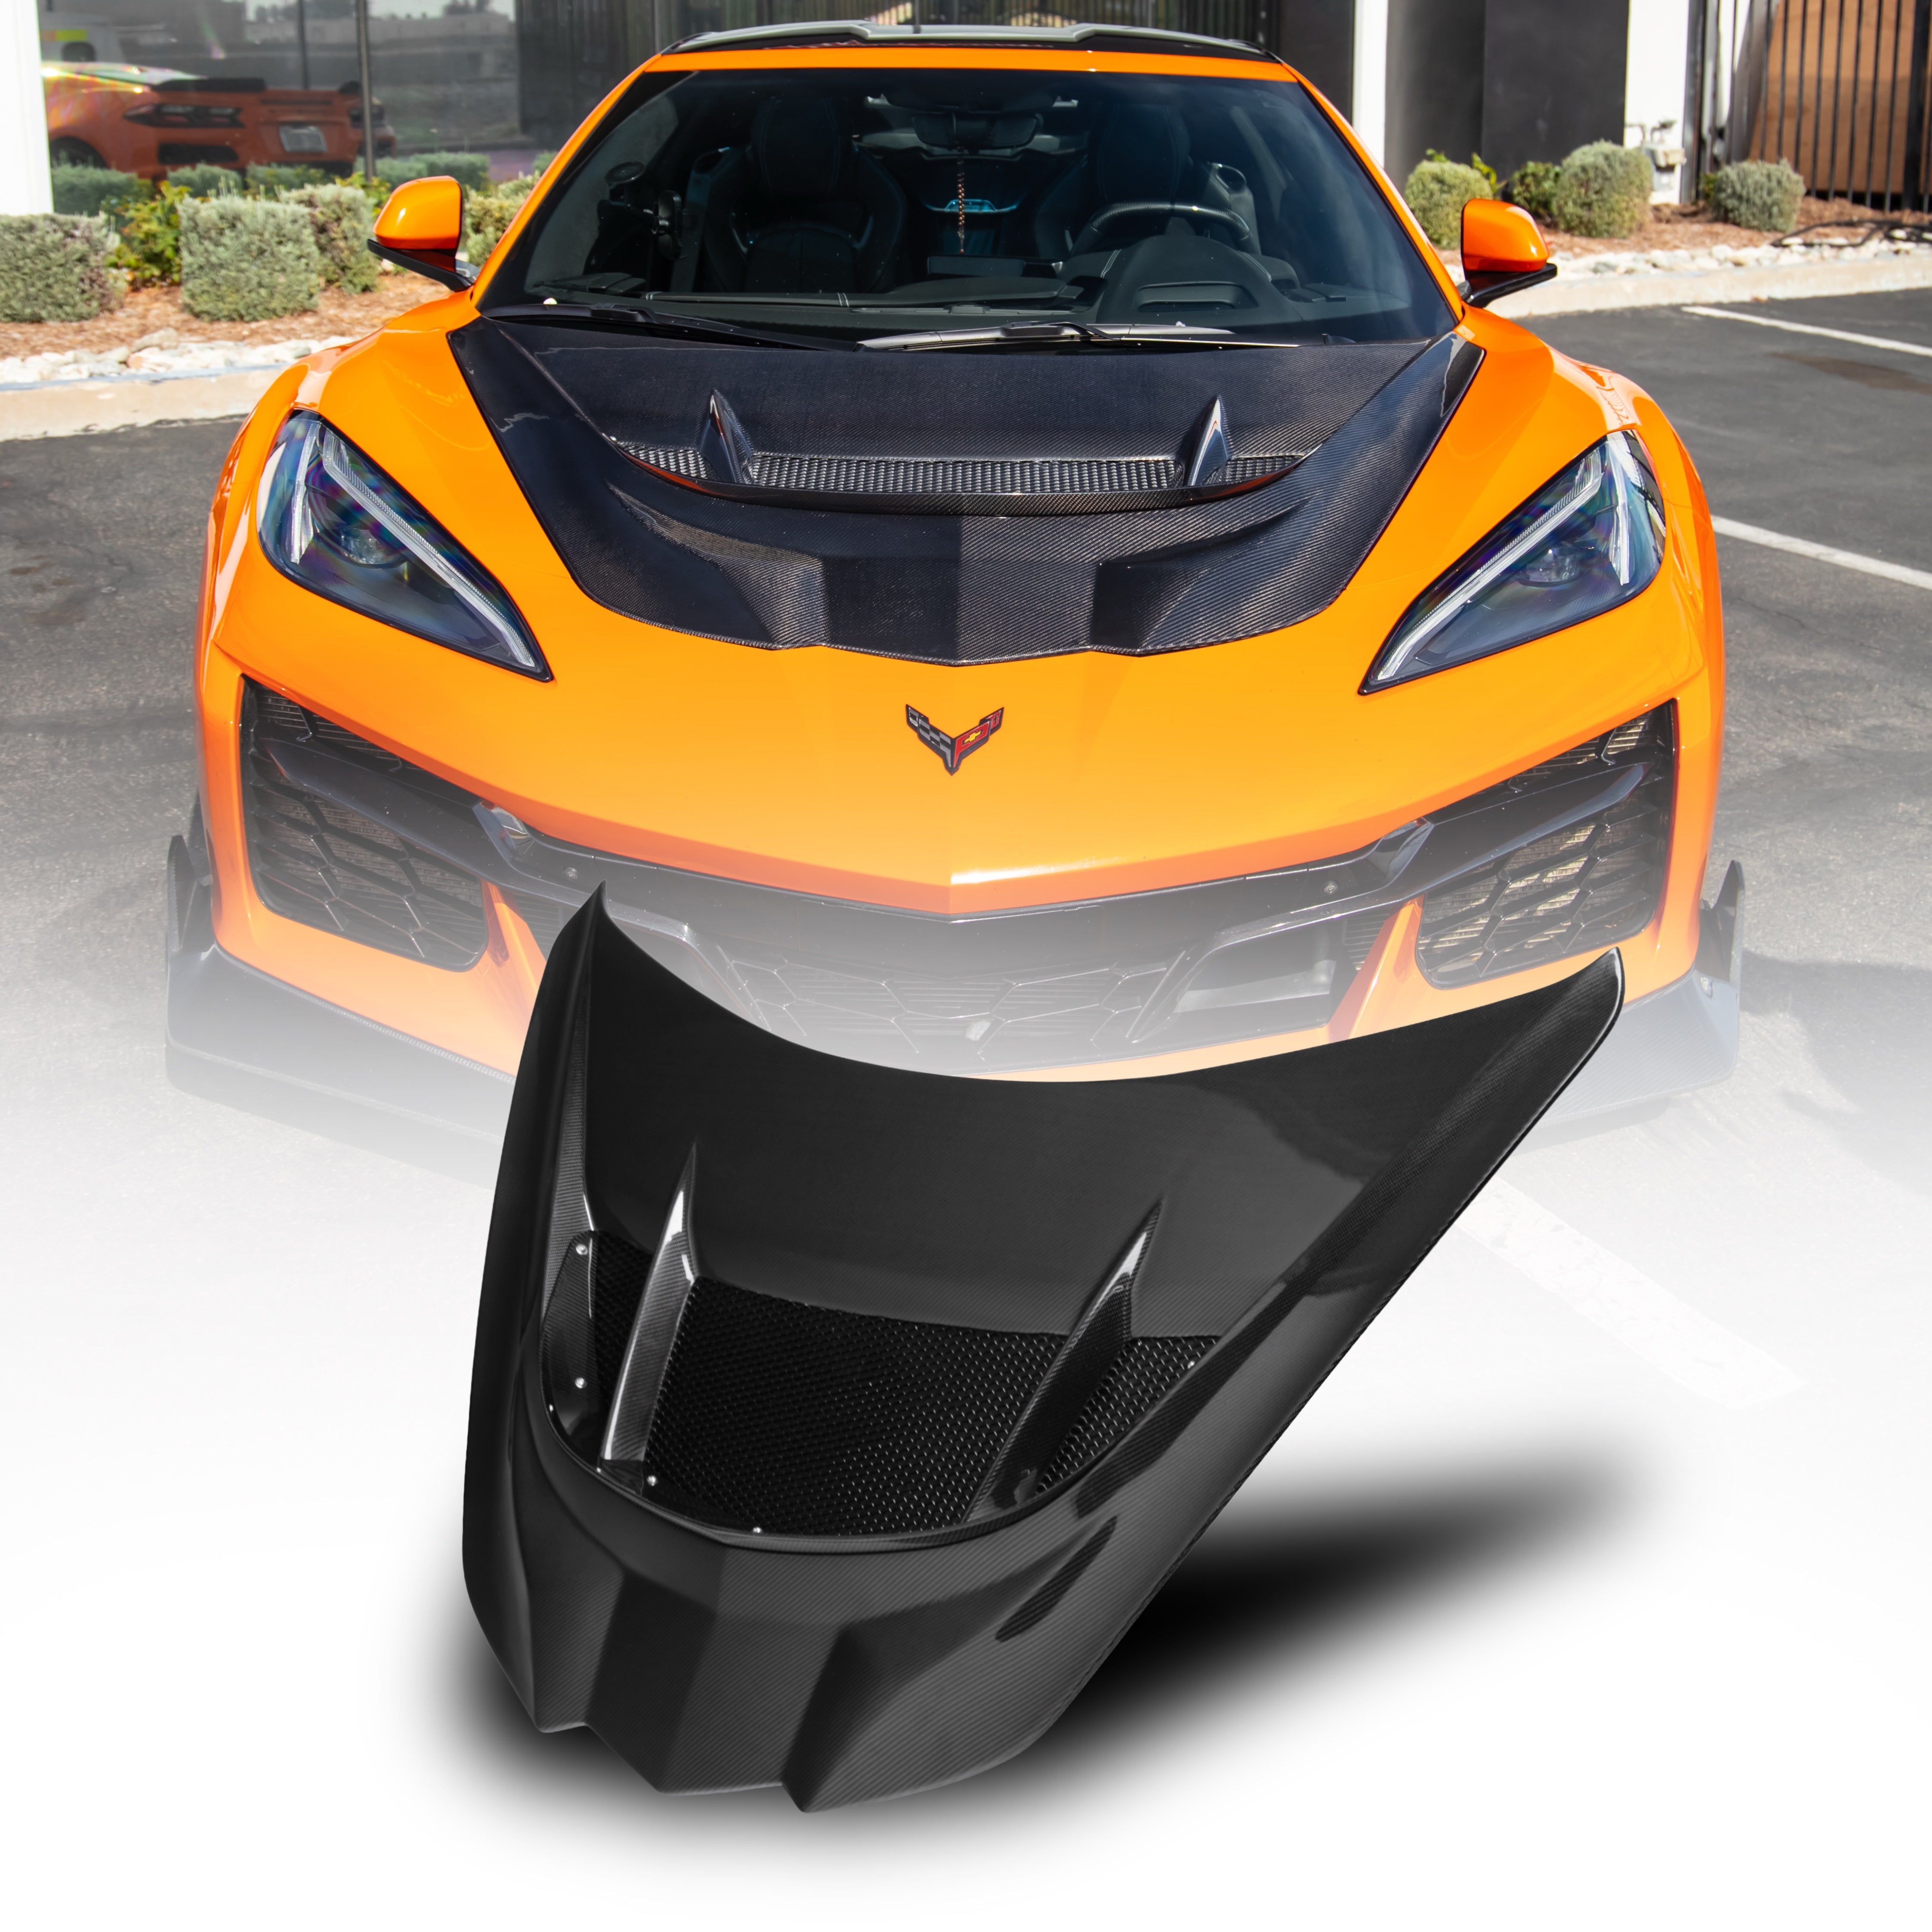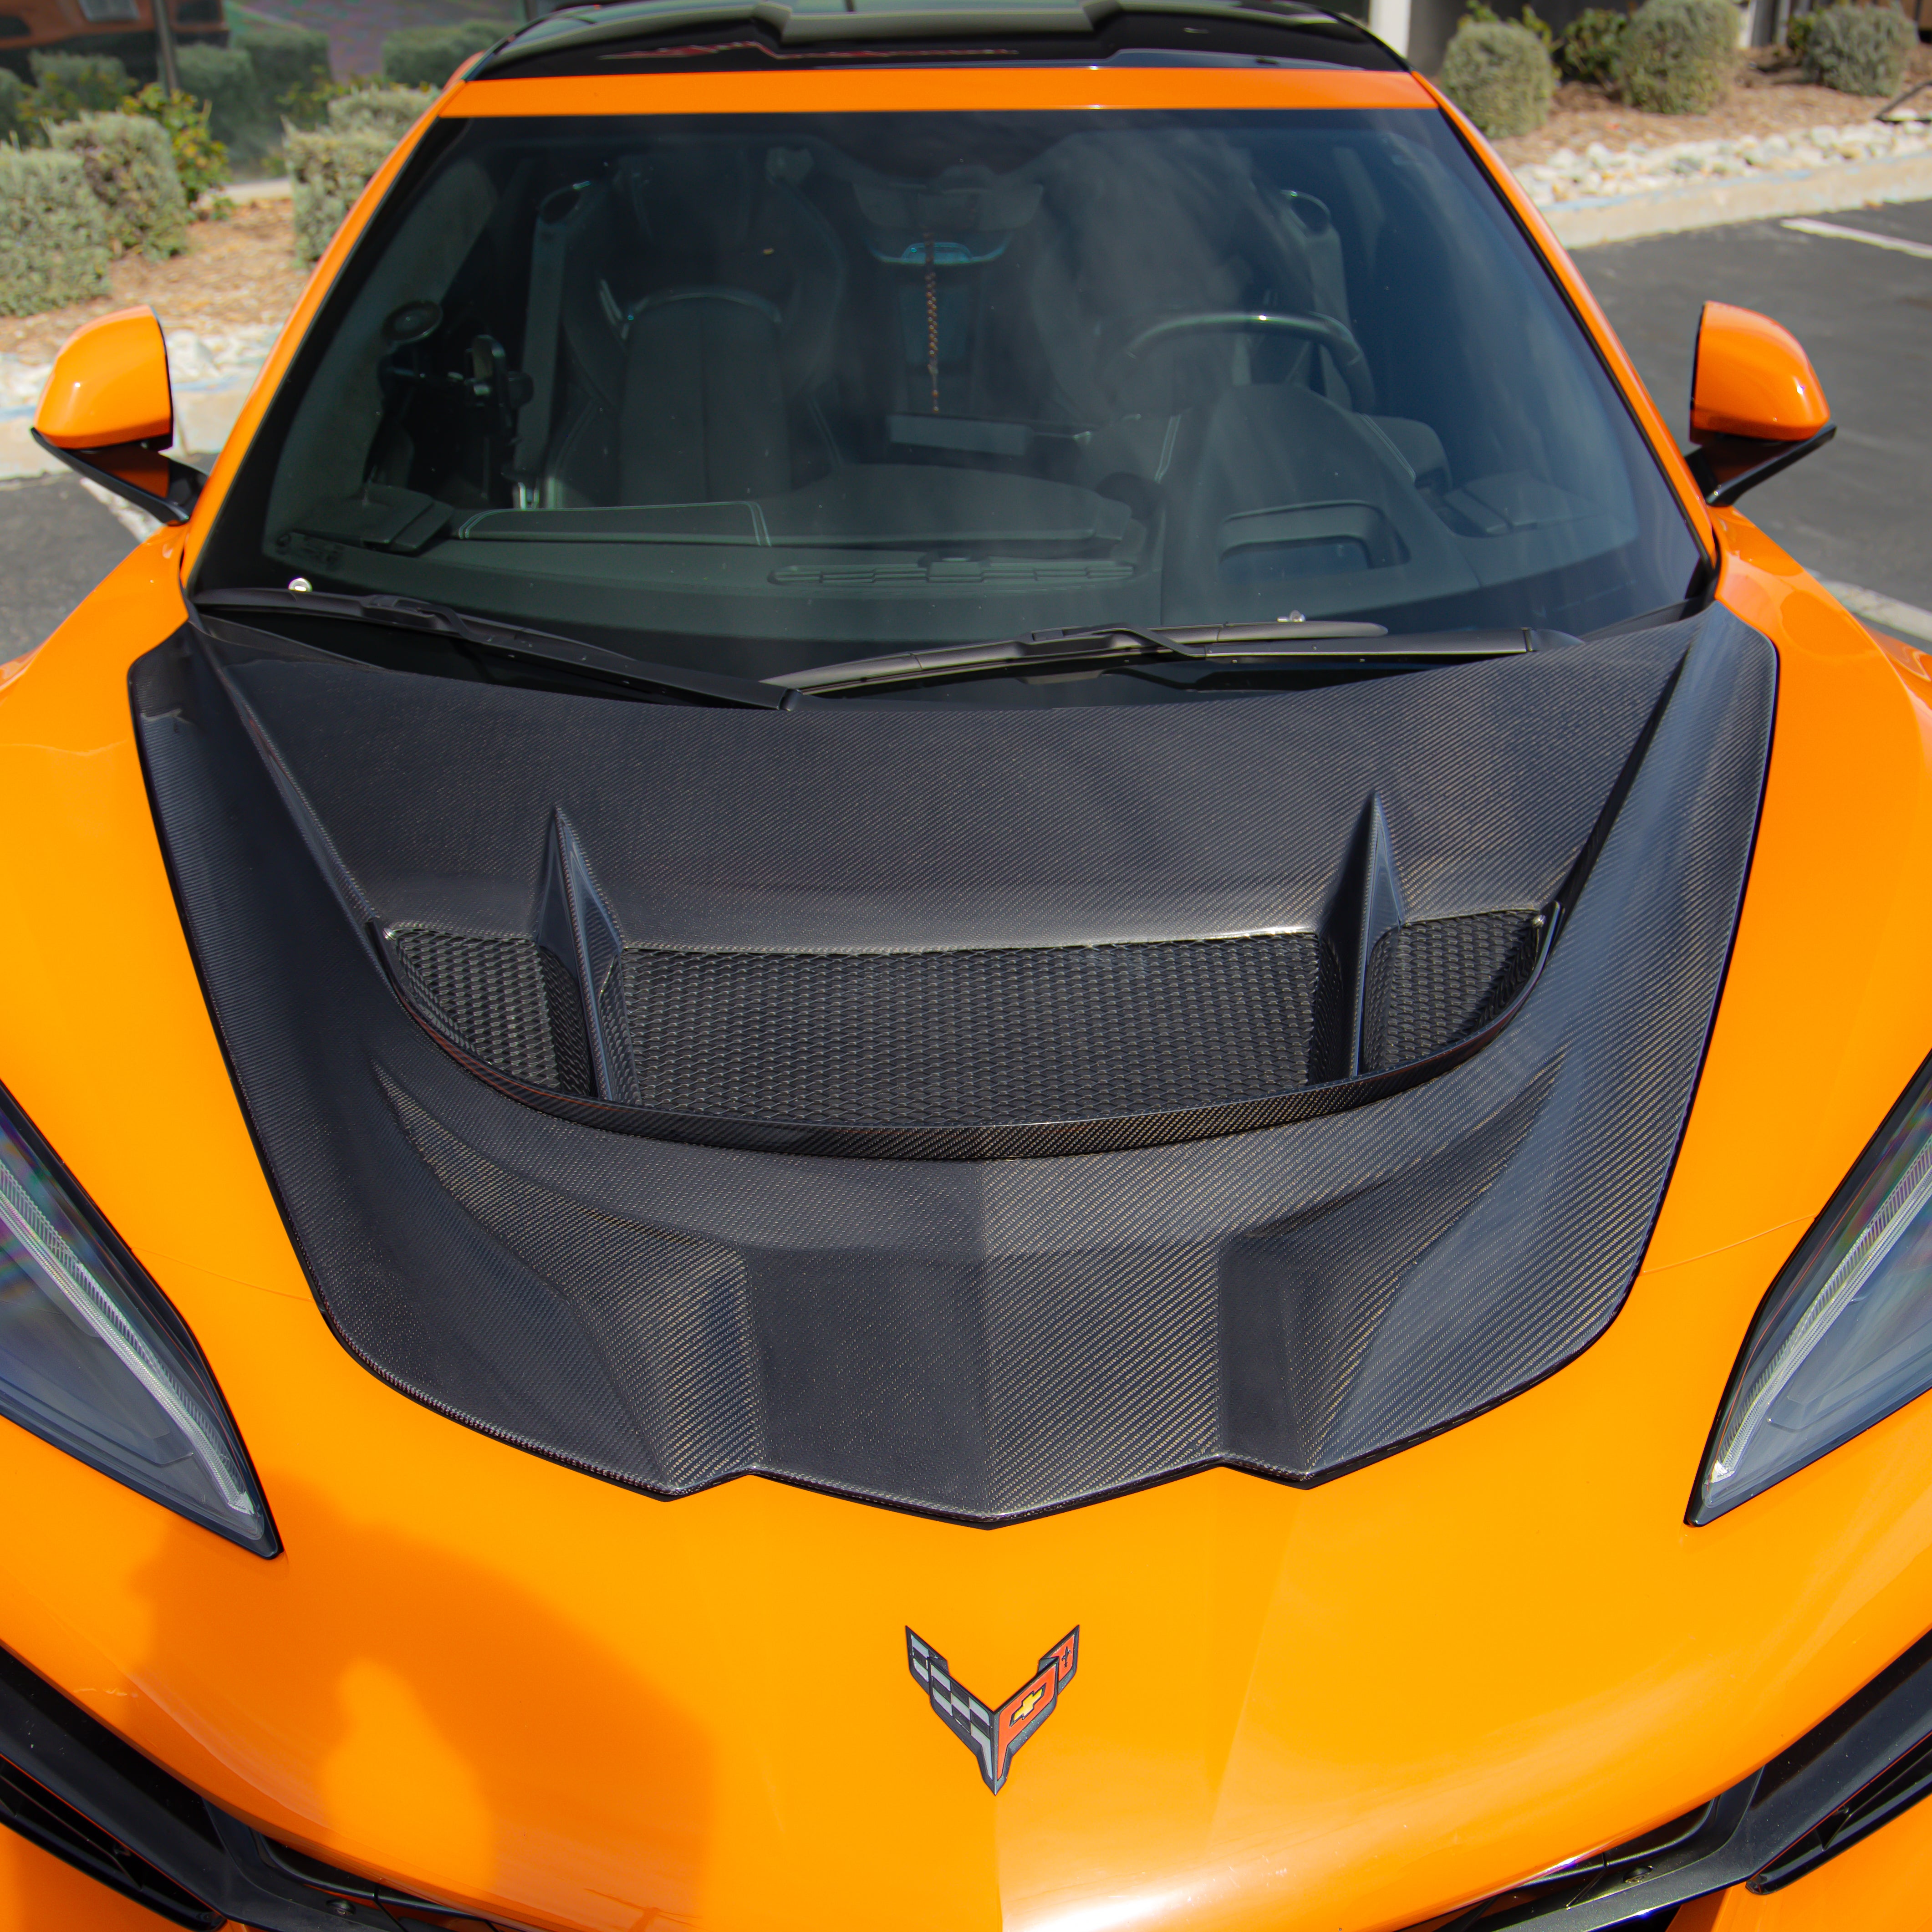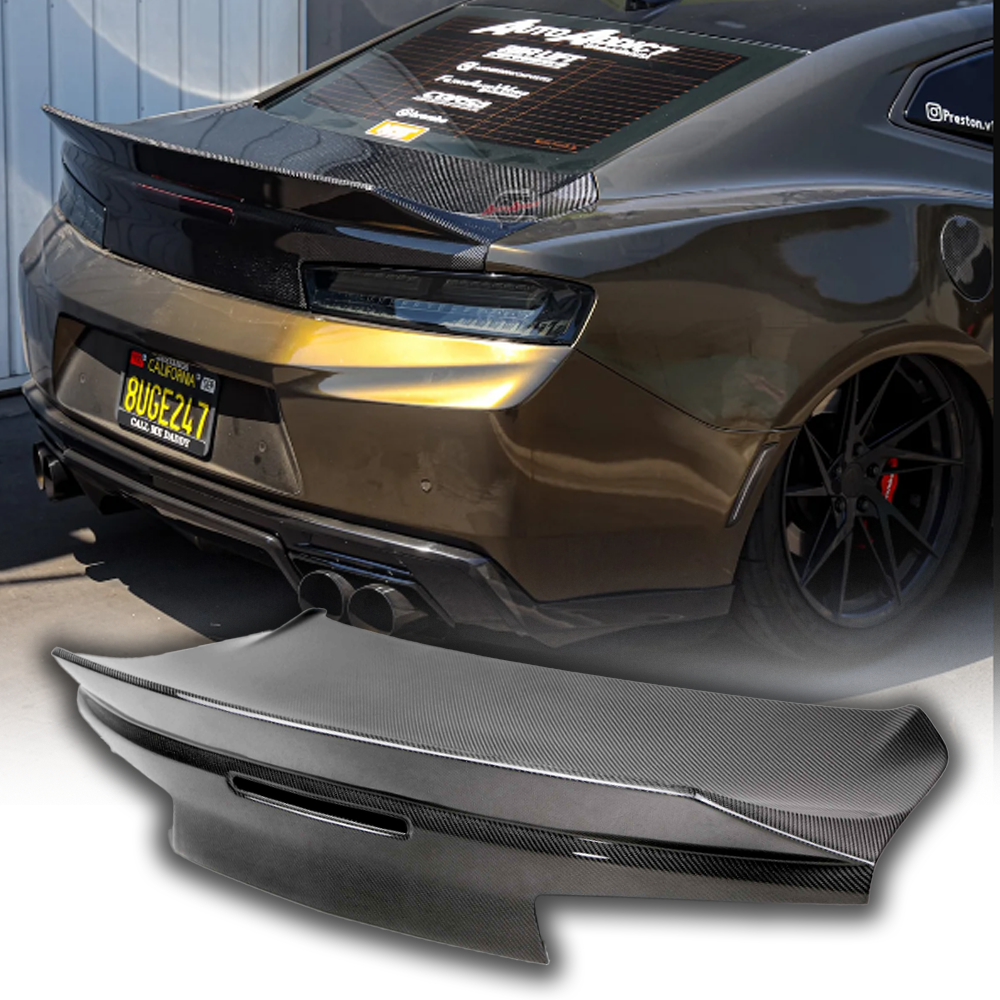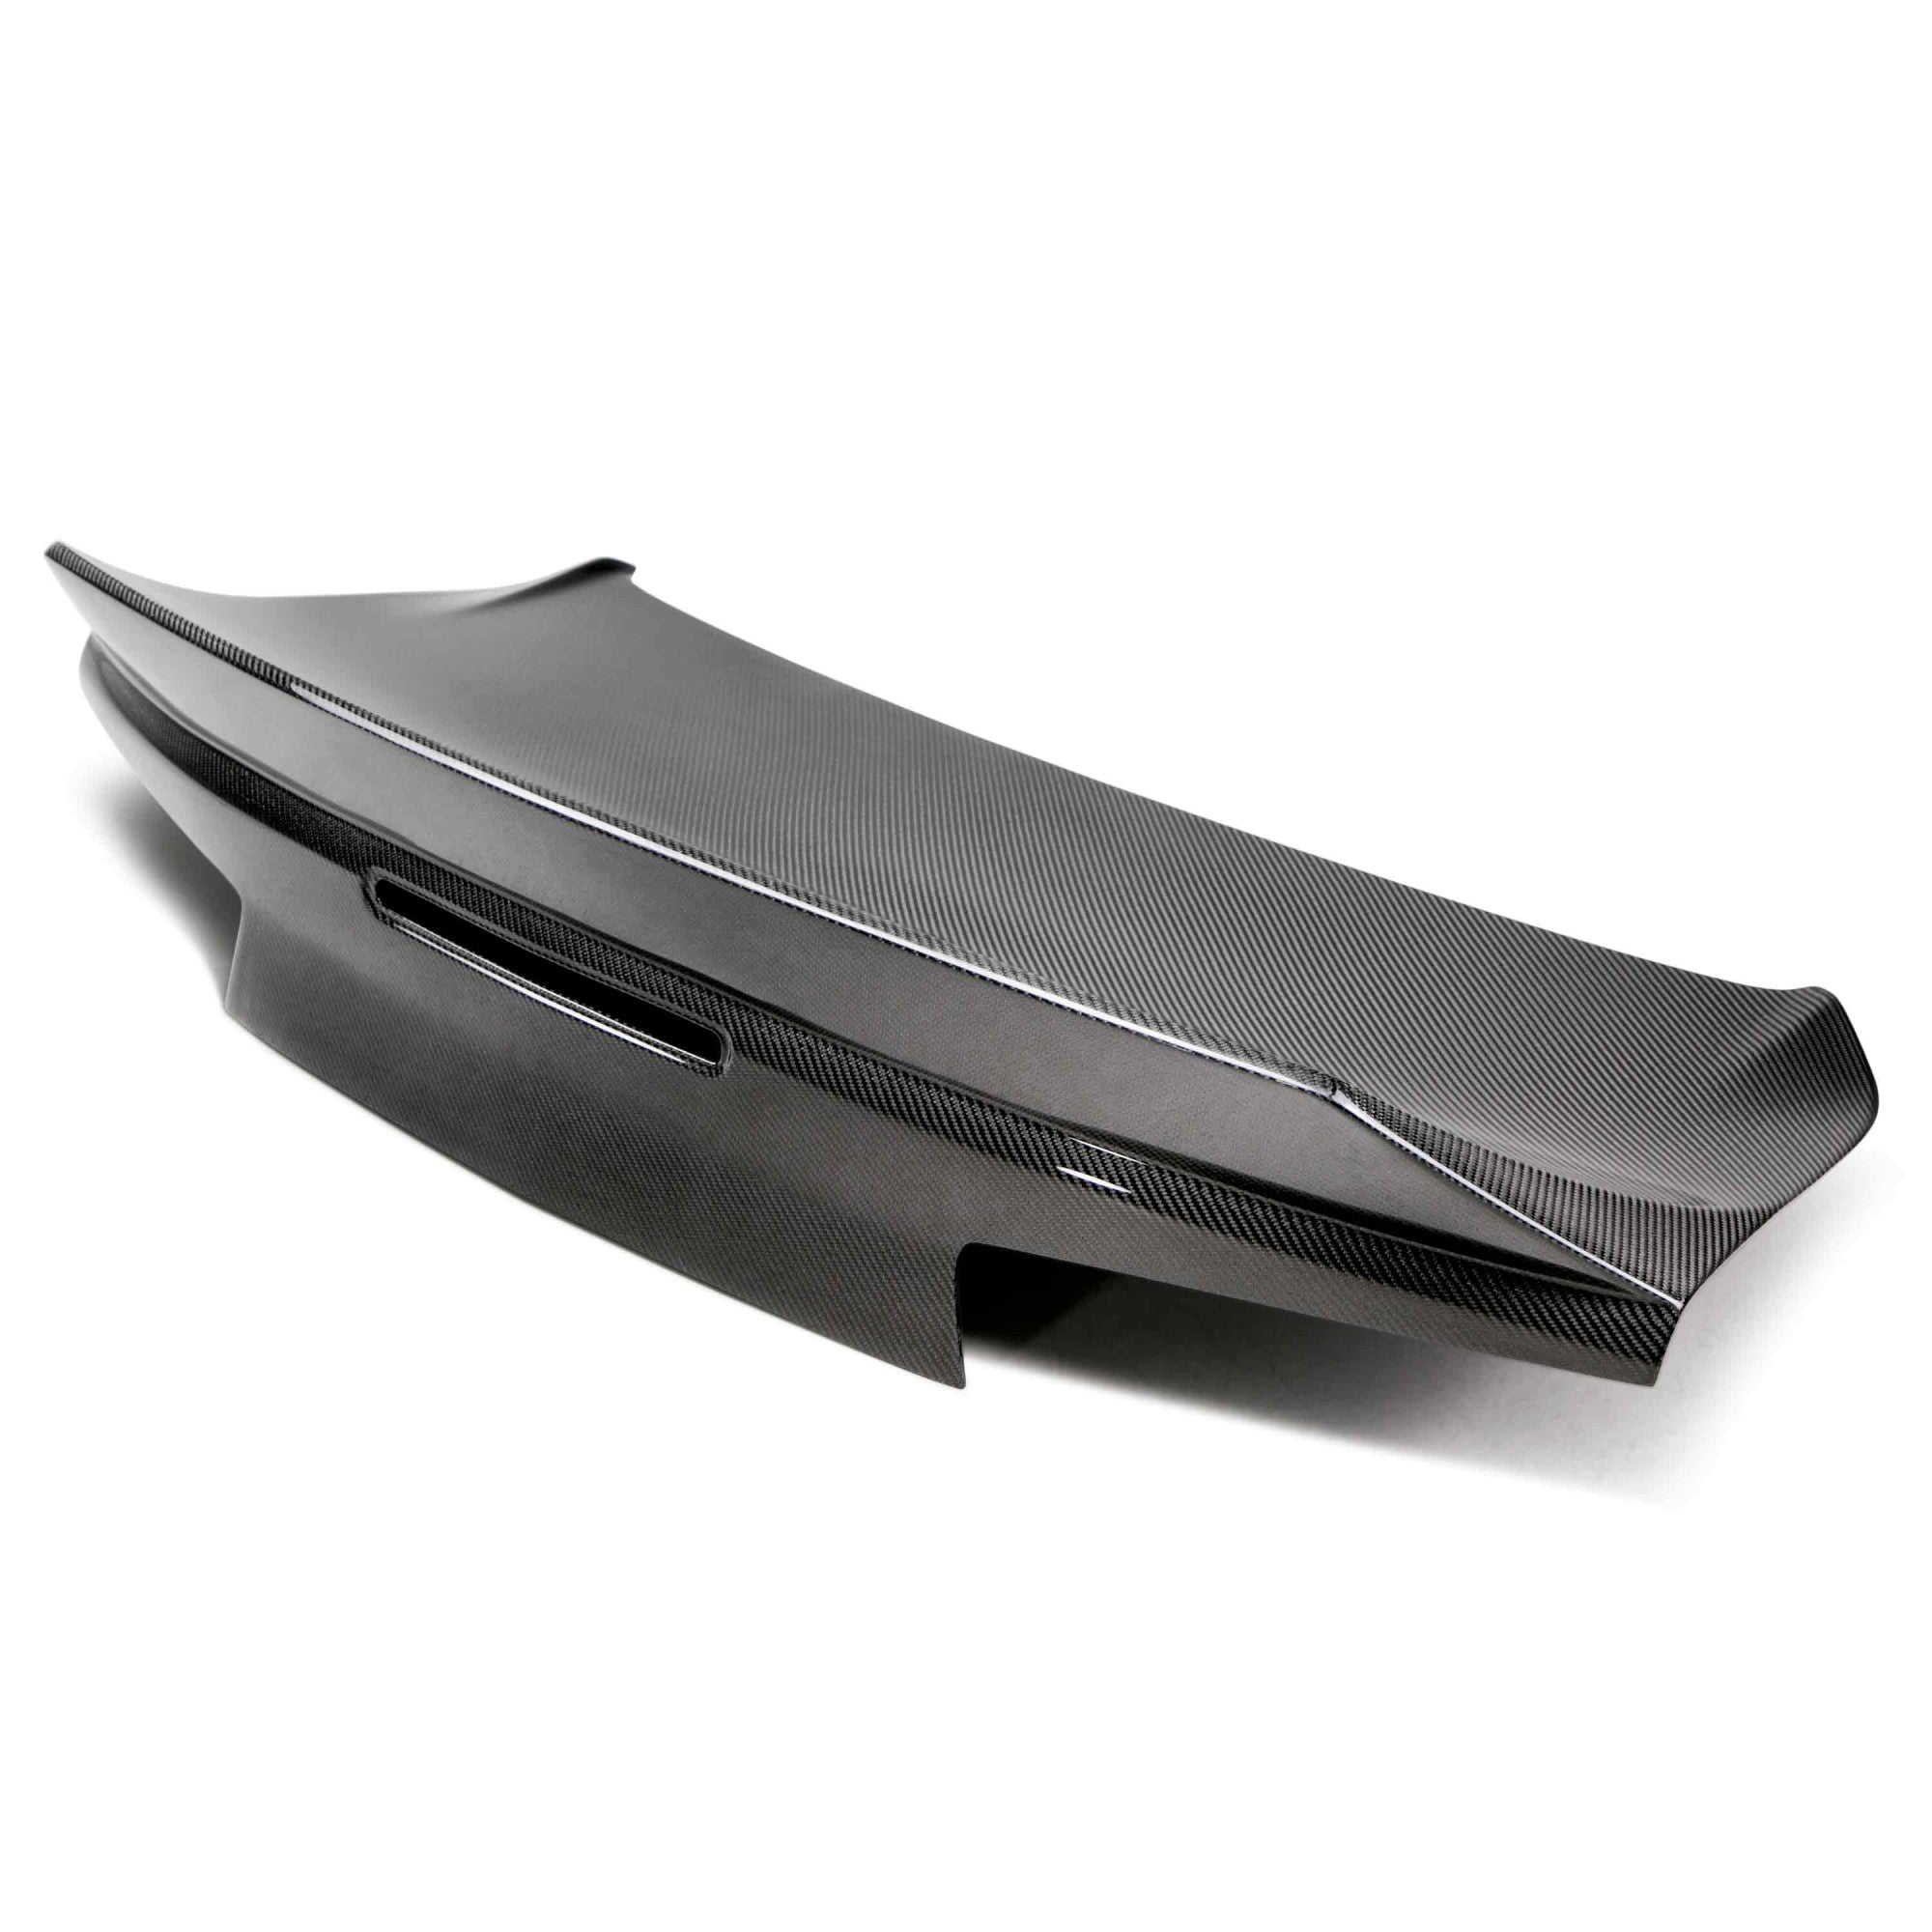
A broken front grille is one of the most common exterior repairs on American muscle cars. Whether it's a cracked tab from a minor impact or a full assembly that needs replacing, it’s a common occurrence.
This guide covers: how to assess the damage, when a repair is worth attempting, and how to handle a complete car grille replacement yourself. If you’re not ready to replace the grille, Auto Addict USA offers a facelift conversion that will make heads turn. Watch the Auto Addict USA grill installation video below to learn how to fix a broken car grille and then follow the steps for your application.

Should You Repair or Replace a Broken Car Grille?
A car grille is essential to protect the engine bay from debris, while also adding aesthetic and branded benefits. Before you buy parts online and pull parts from your car to repair on your own, keep in mind that a minor repair is significantly cheaper to repair than a full assembly replacement.
When you try to fix an issue on your own and make mistakes, you might cause serious engine damage that leads to hazards on the road. Creating risks of damage to other parts of your car will just drive up the repair bill even further. Consider how much it costs to replace the grille on a car before you decide to attempt a DIY repair.
A minor crack or tab repair typically costs between $100 and $400, while a full assembly replacement can cost more than $1,000. A DIY repair might seem ideal, as you’ll save a lot more without the need for labor costs. But, in the long run, it might lead to future expenses. If you’re ready to take the risk, keep reading to learn how you can replace your car grille.
What You'll Need for Car Grille Replacement
Here’s a pre-work checklist to get you ready for your car grille replacement:
-
New Grille: OEM replacement, custom mesh, or billet grille.
-
Socket Set and Ratchet: Essential for removing bumper and mounting bolts.
-
Screwdrivers: Phillips and flathead for plastic clips and trim.
-
Pliers: Needle nose and standard to remove fasteners.
-
Protective Gear: Gloves and eyewear, as edges can be sharp.
Extra Tools For Custom and Mesh Grilles
-
Cutting Tools: Tin snips or a rotary tool (Dremel) for cutting mesh.
-
Fasteners: Zip ties, wire, or screws to secure the new mesh.
-
Masking Tape and a Marker: Essential for marking, measuring, and outlining cut lines.
-
File or Sandpaper: Finish the repair and maintain safety with sandpaper that will smooth sharp edges.
Tools for Minor Grille Damage
-
Plastic Epoxy and Adhesives: Essential for bonding cracks.
-
Fiberglass Mesh and Reinforcing Tape: Used on the back of the grille for added strength on broken pieces.
-
Sandpaper of Varying Grits: For smoothing the repair. 180 to 400 grit is recommended.
-
Plastic Primer and Paint: To finish and blend the repair with the existing grille.
-
Adhesion Promoter: Improves the adhesion of paint to the plastic surface.
How to Replace a Car Grille: Step by Step
-
Confirm fitment. Verify generation-specific fit before pulling the old unit.
-
Protect the surrounding paint. Tape the bumper fascia edges adjacent to the grille opening.
-
Locate all mounting clips and fasteners. Push-pin clips and screws around the perimeter. Some are accessible from behind the bumper fascia.
-
Remove all screws. Set aside for reuse unless the replacement includes new hardware.
-
Release the grille. Work around the perimeter with a trim tool. Grilles often have multiple hidden engagement points.
-
Disconnect any wiring. Sensors, cameras, or active grille shutters need to be disconnected. Press the tab and disconnect before fully removing.
-
Dry-fit the new grille. Check mounting point alignment, flush fitment, and even panel gaps on both sides before fastening.
-
Secure and reconnect. Press clips evenly around the perimeter, reinstall screws, and reconnect any wiring harnesses.
-
Inspect and remove tape. Check alignment from straight-on and both sides. Remove all masking tape before driving.

Tips for a Clean Grille Replacement
Don't let a cracked grille ruin your car's look. Replacing it correctly is the key to transforming your car's front end. However, DIY installations often lead to fitment mismatches. Large, uneven gaps and broken clips from improper installation can cause significant aesthetic and structural problems.
When you begin your project, it’s important to protect the surrounding areas with painter’s tape. This will avoid paint damage when removing the original grille. Now that the paint is protected, be sure that the grille is level with the ground and centered between the headlights. When a new grille is installed incorrectly or is the wrong size, it can block the radar sensor and cause conflicts.
Professional Grille Replacement Installation
Would you like a pro to install your grille or have additional mods you need help with? You can easily schedule an AutoAddict Professional to take care of this for you. View our list of recommended installation centers to help get your project done. All centers have been vetted by Auto Addict USA's team to ensure they have what you need to get the job done right. Want something easier? We can pick up your car, take it to our shop in LA, and then ship it back to you.
Ready to upgrade? Shop Auto Addict USA Grilles and Front-end Parts
Upgrade your ride with a new car grille or a facelift conversion to make the car much more aggressive and give it proper fitment. Replacing a broken grille is the perfect moment to fit something better than stock. Explore our collection of grilles and contact our mod specialist for more information.